The Wood Effect

  • Published

Capturing instants of the unseen world with sensitive infrared film.

I have always been captivated by the fascinating photographs of almost surreal landscapes in which the vegetation appears with white leaves and the skies are dark. It all started in my childhood, when I came across a book showing these extraordinary images and, from that moment on, I was completely captivated. The allure of capturing such extraordinary photographs has been with me ever since. These visual creations seem to present a strange interpretation of what we call reality. In fact, they reveal an invisible world that lies beyond the limits of our perceptible electromagnetic spectrum. These photographs capture light in the near-infrared region (NIR) with  wavelengths ranging from 700 nm to 1200 nm. Our eyes can typically see wavelengths in the range from 380 nm to 720 nm. This is from deep violet to deep red. 

Photo Technical Details

📷 Chamonix  CH45-F2

⭕️ SK APO Symmar 150 mm

🎞️ Rolei IR 400

⬛️ Heliopan RG 715 (#88A)

⚙️ f/22+2/3 , 1”

💡Pentax digital spotmeter

🧪 Jobo 2520+2509, HC-110 (B)

💿 Epson v850 pro

🖥️ Negative lab + Lightroom

This imperceptible realm of reality is commonly known as the “Wood effect”, named after the American physicist and inventor Robert W. Wood that pioneered in what we call nowadays “infrared” photography. His  original work on infrared photography (i.e., the invisible light) can be found at:

Wood, R. (1910) Photography by invisible rays, Photogr. J. 50, 329.

The first infrared photography taken by R. Wood can be seen in following article: APS News from October 2017 (Volume 26, Number 9).

There are a number of books and blogs that describe in detail all intricacies of the infrared photography. A detailed explanation of the theory of infrared film photography can be found in “Infrared Photography Handbook” by Laurie White, Amherst, NY, 1995.

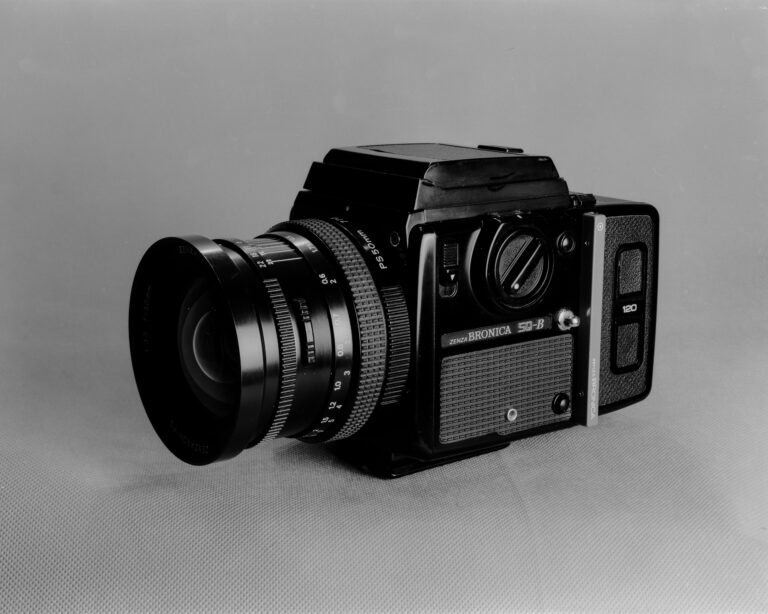
Currently, there are two IR films available in stores in Europe, North America and elsewhere: Rollei IR 400 and Ilford SFX Infrared 200. On eBay and with some luck, you may be able to find Efke IR 820, Kodak High Speed Infrared HIE, and Konica Infrared 750 nm. For 4×5, however, the only option is the Rollei IR 400, but even that is hard to get in Germany.

Color IR film (i.e., false-color reversal film) is even rarer. The famous Kodak Aerochrome Infrared Film, originally introduced for military photography and other scientific purposes was discontinued in 2009, and thus, it is no longer available at an affordable price. The prices of a 120 roll are in the hundreds of dollars and for a box with ten 4×5 sheets in the thousands. How sad this development is!

Consequently, color infrared photography is practically only possible nowadays with modified digital cameras. B&W infrared photography can also be done with digital cameras, but this is outside the scope of my current interest and of this short essay. 

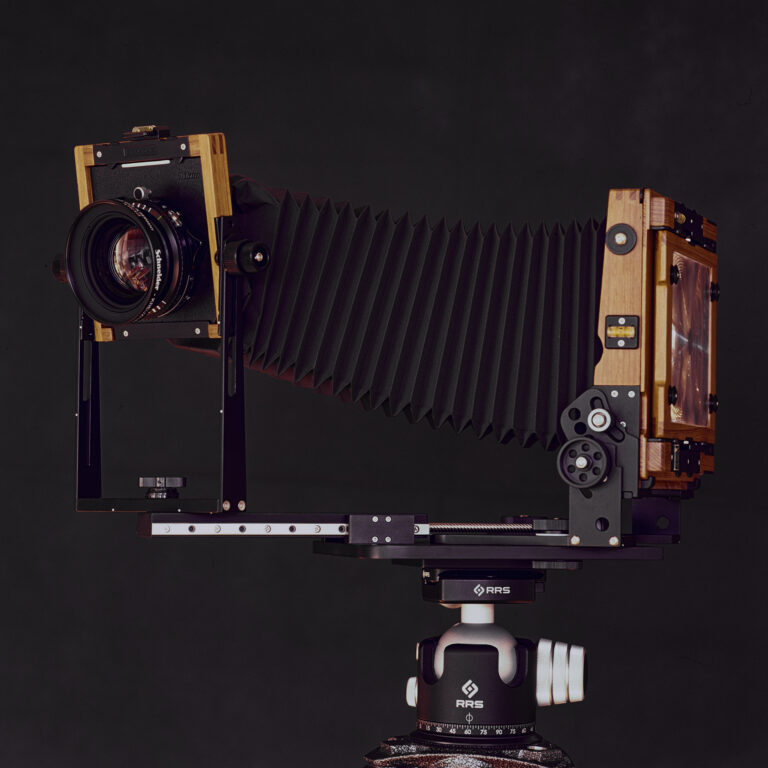
In this essay, I would like to show how I managed to take these analog photographs, how I developed and scanned them. I also plan to make prints in the future, but this is a topic for a new story.

The Apparatus

Reading various blogs, I have come to learn that not all view cameras (VCs) are suitable for IR photography due to the materials used for the camera body and bellows. In general, wooden VCs without leather bellows (e.g., my Chamonix) are most likely not IR-proof. In contrast, metal cameras (e.g., a Bronica SQ-B or any other medium format),  are generally suitable for IR photography. Some precautions must be taken, such as sealing the viewfinder with tape and aluminum foil.

My solution to making the Chamonix 45-F2 bellows IR-proof is simple. I used mylar film to construct a 4-layer wrap to cover the bellows and the rear-standard of the camera (Fig. 1). This simple insulation wrap can be easily transported and  mounted in the camera as seen in Fig. 2.

Fig. 1: IR isolation
Fig. 2: IR-insulation with the CH45-F2 camera.

Fog density Tests

I have done several tests to see if the bellows of the CH45-F2 are IR-proof with the milar protection. The test was done as follows. During a sunny day, and with closed shutter, the IR 400 sheet was exposed during 3 min. The result of the second test is shown in Fig. 3. The sheet shows a relative good IR protection after 3 minutes exposure of the sheet compared with the edges showing unexposed film. The milar protection is not perfect, but for exposures of few seconds (see picture on top), the IR insulation is easy to mount and produces acceptable results. The film holder used in this test is from Toyo (2 years old). The white edges of the film indicate that it is IR proof. The leak (black marks) in the upper left corner was probably caused at the moment the dark slide was inserted. 

Fig. 3: IR test (3' sunny day)

Results

The photograph below was exposed at 2″ and an aperture f/22. The filter was a Heliopan #88A (715 nm).  The exposure of this image was done according to the principles of the zone system (A. Adams). I envisioned the dark shadows of the stones to retain their texture so the measured EV value was put in Zone III (EV=10). I checked the EV value on the leaves (EV=12) and this value fell in zone V. The sky (EV=14) fell in zone VII. Consequently, a normal development was decided. This picture turned out exactly as I visualized it. The water of the creek is black and the young leaves of the trees have various shades of white.

The result is spectacular. I love this photography. 


Leave a Reply